Procedure
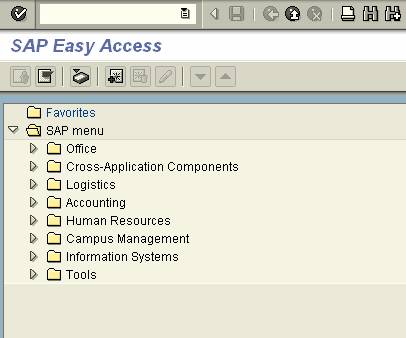
1. Start the transaction using the menu path below or you can enter the transaction code, PPOSE, in the transaction window: SAP Menu →Human Resources→Organizational Management→Organization and Staffing→PPOSE - Display
|
|
![]() Organization
and Staffing Display
Organization
and Staffing Display
|
|
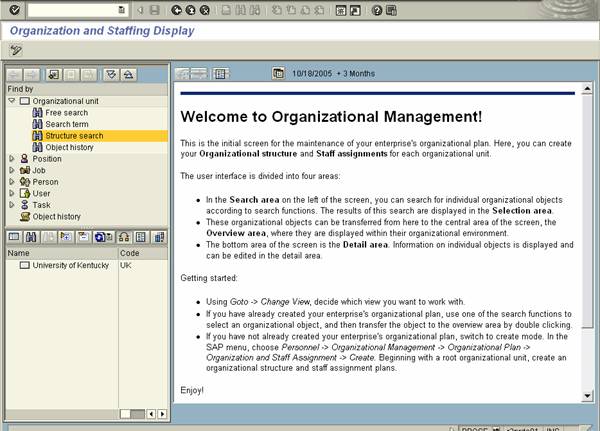
2. In the Search (find by) area in upper left, click ![]() .
.
3. In the Selection area (lower left). click ![]() .
.
![]() The unit or node selected by
double-clicking will display in the main portion of the screen. Therefore, if
you want to display the entire University structure, double-click on
The unit or node selected by
double-clicking will display in the main portion of the screen. Therefore, if
you want to display the entire University structure, double-click on ![]() (step 4) rather than continuing
to drill down (steps 5-7) to HRD, for example.
(step 4) rather than continuing
to drill down (steps 5-7) to HRD, for example.
![]() Organization
and Staffing Display
Organization
and Staffing Display
|
|
8. To fully display the selected unit's information, close the search and selections areas on the left side as follows:
In the main menu,
select Settings![]() Hide Object Manager.
Hide Object Manager.
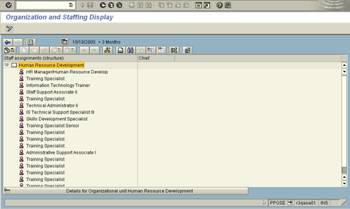
9. To view the structure without the details in the bottom portion, click ![]()
![]() Organization
and Staffing Display
Organization
and Staffing Display
|
|
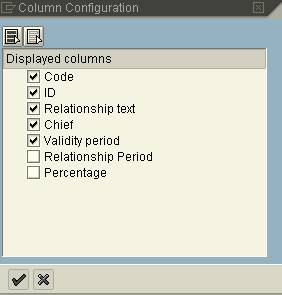
10. The columns displayed can be changed by adjusting the column configuration
option. Click the column configuration icon,![]() , the last one in the row of icons above the structure
in the main screen portion. In the column configuration pop-up box, checkmark
by clicking the boxes you want displayed. To remove a displayed (checked
column, click on the
, the last one in the row of icons above the structure
in the main screen portion. In the column configuration pop-up box, checkmark
by clicking the boxes you want displayed. To remove a displayed (checked
column, click on the ![]() to
deselect it. The icons at the top can be used to select all or deselect all
columns.
to
deselect it. The icons at the top can be used to select all or deselect all
columns.
|
|
![]() Organization
and Staffing Display
Organization
and Staffing Display
|
|
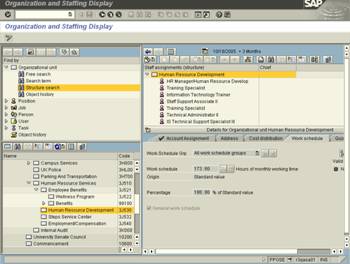
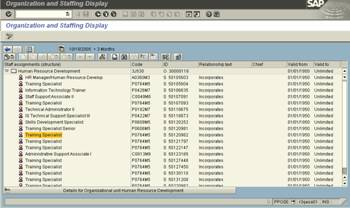
12. To view details for a specific position, highlight the position by
double-clicking on it. Double-click on ![]() , in this example.
, in this example.
![]() Organization
and Staffing Display
Organization
and Staffing Display
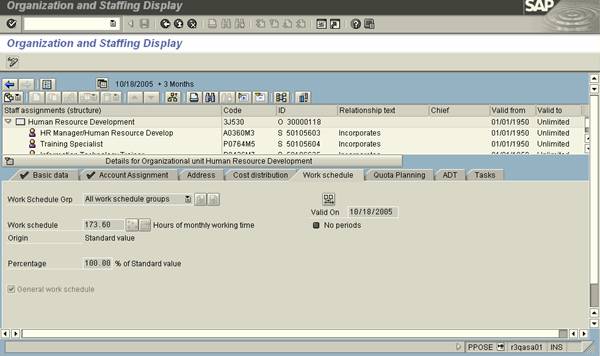
13. Each tab contains specific information for the selected position. Click on a tab to view details of this position.
The Basic Data tab contains the position name, job information, chief position indicator (to signify if the position is the head of the organizational unit), and vacancy information. The Account Assignment tab identifies the Personnel Area and Personnel Subarea and also identifies cost objects associated with the organizational unit. The Cost Distribution tab shows how the position costing is set up to be distributed (this information is similar to the 063 or M63 screens in HRS). The Work Schedule tab identifies the Employee Group and Employee Subgroup of the position. The remaining tabs are not applicable to the position.
![]() If you are viewing an organizational unit
(rather than a position), the tabs will be different. The Basic Data
tab contains employees related to the organizational unit. The Account
Assignment tab identifies cost objects associated with the organizational
unit. The Address tab holds address information for the organizational
unit.
If you are viewing an organizational unit
(rather than a position), the tabs will be different. The Basic Data
tab contains employees related to the organizational unit. The Account
Assignment tab identifies cost objects associated with the organizational
unit. The Address tab holds address information for the organizational
unit.
14. You have completed this transaction.
You have navigated through and displayed the organizational structure, a particular unit, and details of a position.
Comments
